
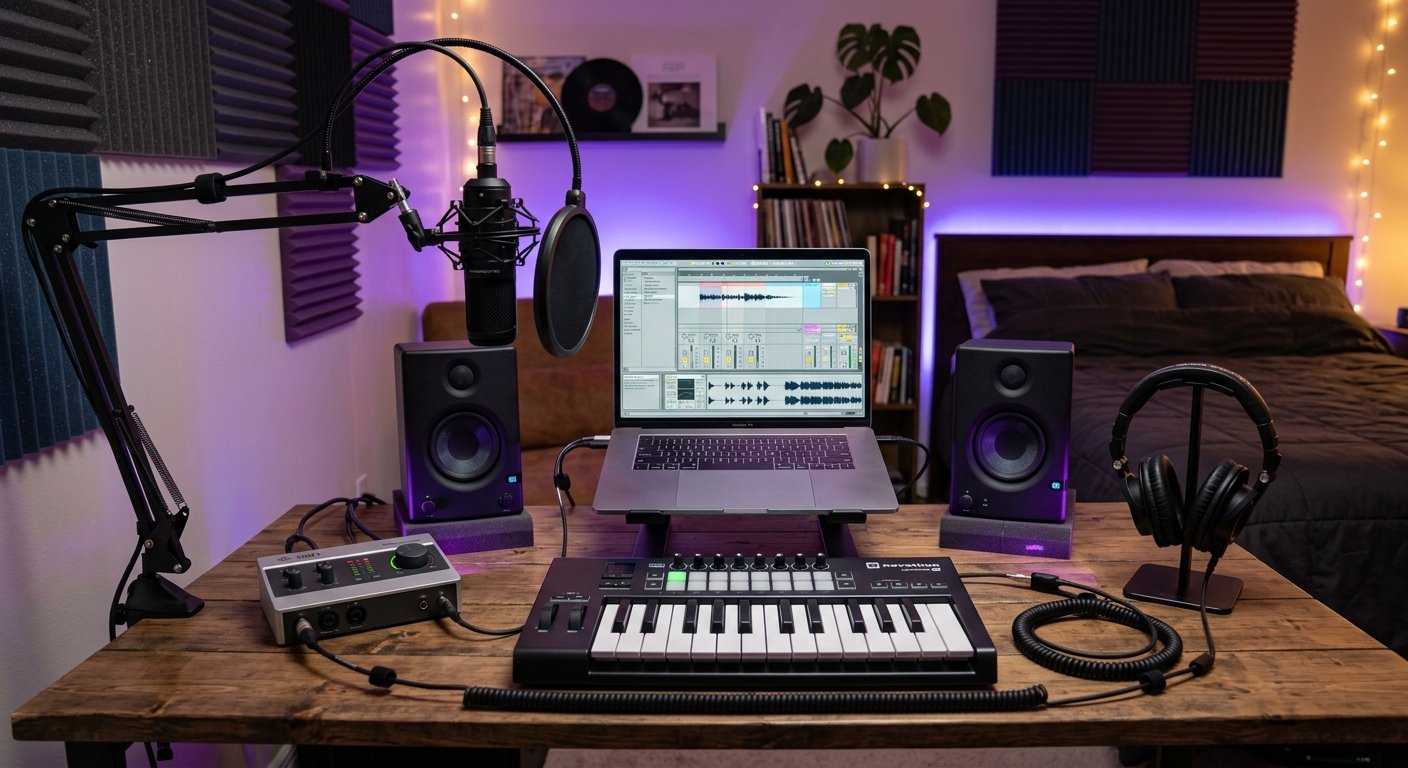
- A working beginner home studio costs around $300 to $500 using a computer you already own.
- The audio interface is the most important purchase — buy it before a microphone.
- For an untreated room, a dynamic mic is more forgiving than a condenser.
- Acoustic treatment matters more than expensive gear; you can't fix a bad room with EQ.
- Build one clean signal chain and upgrade one piece at a time.
A good home studio setup for beginners in 2026 that genuinely sounds professional is more achievable than it has ever been. I’ve spent over 12 years building home studios, from a cheap first audio interface on a bedroom desk to a fully treated project studio, and the single biggest lesson is this: talent and a smart signal chain beat an expensive room full of gear you don’t understand. Billie Eilish’s Grammy-winning debut album was recorded in her brother Finneas’s bedroom on a Universal Audio interface, a pair of Yamaha HS5 monitors and an Audio-Technica AT2020 mic, as MusicRadar documented: which tells you everything you need to know.
This is a complete, no-hype guide to setting up your first home recording studio. Everything below is based on gear I’ve actually used and tested in real production, not spec sheets. We’ll cover the exact equipment you need for a beginner home studio setup, in what order to buy it, real budget tiers, room treatment, and the beginner mistakes that quietly ruin recordings. Whether you want to record vocals, produce beats, start a podcast, or write songs, this is your roadmap.
Written by Jordan Ellis. Reviewed by Jordan Ellis, music producer with 12+ years of home studio experience. Last updated 18 July 2026.
How We Tested
This guide is built from twelve years of actually assembling home studios rather than from spec sheets, starting with a cheap interface on a bedroom desk and ending with a treated project studio in Austin. Every recommendation here reflects gear we have recorded through in real sessions, and the buying order reflects the sequence we wish someone had given us at the start.
The budget tiers come from what these builds genuinely cost rather than round numbers, and the room-treatment advice comes from testing the same mic and monitors in treated and untreated spaces, which is where the difference between good gear and good sound becomes obvious. Prices were verified in July 2026.
What Do You Need for a Home Studio? The Essentials
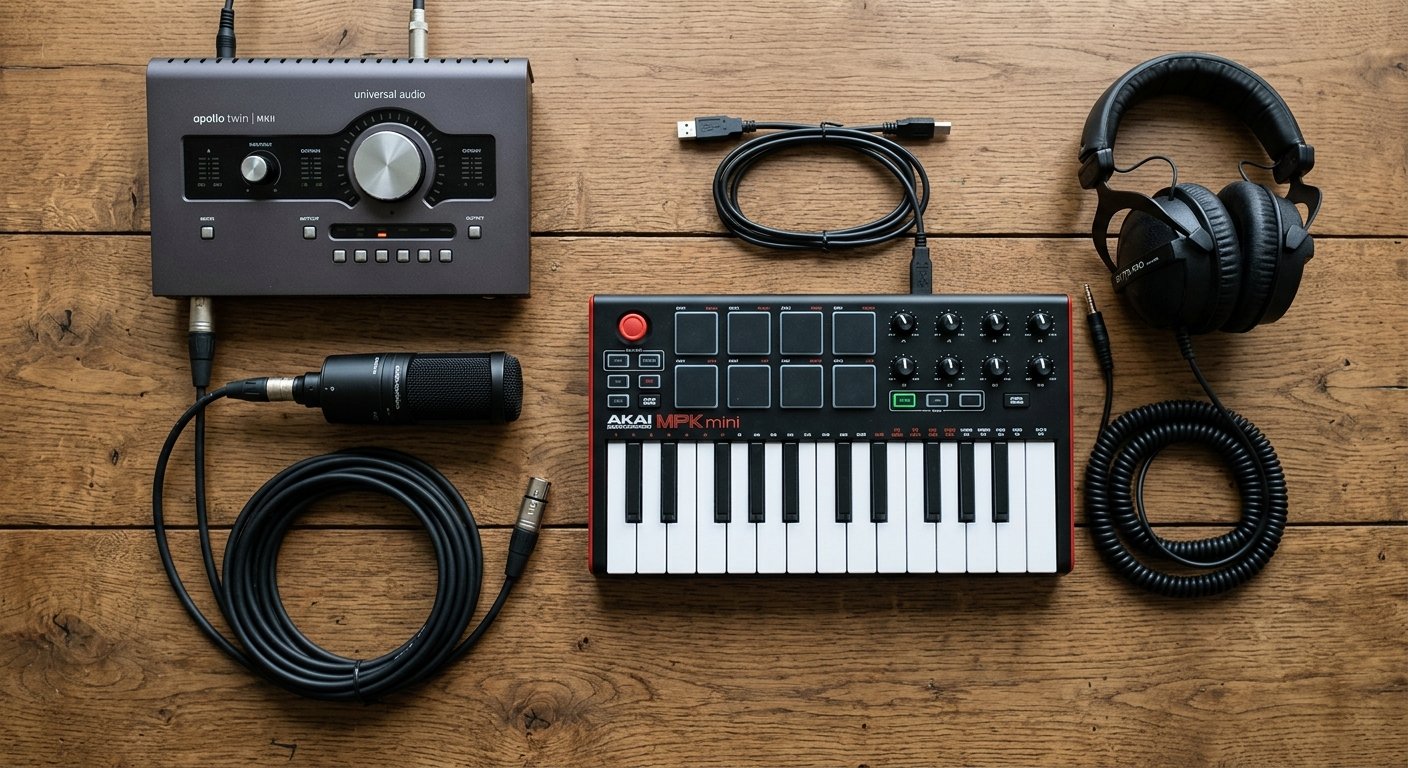
Every home studio, from a $300 bedroom rig to a professional suite, is built from the same core signal chain. Here is what you actually need for a home studio, in priority order:
| Component | What it does | Beginner budget |
|---|---|---|
| Computer | Runs your DAW and plugins | Use what you have |
| DAW (software) | Records, edits, and mixes audio | Free to $200 |
| Audio interface | Connects mics/instruments to your computer | $50 to $200 |
| Microphone | Captures vocals and instruments | $100 to $250 |
| Headphones | Monitoring without disturbing others | $80 to $150 |
| Studio monitors | Accurate speakers for mixing | $150 to $400 |
| Cables + stand | XLR cables, mic stand, pop filter | $40 to $80 |
| Acoustic treatment | Tames room reflections | $100 to $400 |
The golden rule for any beginner home studio setup: build one clean signal path rather than spreading money thin across many cheap pieces. A great mic through a weak interface still sounds muddy, so every link matters, and the weakest one is what people actually hear.
1. Your Computer and DAW
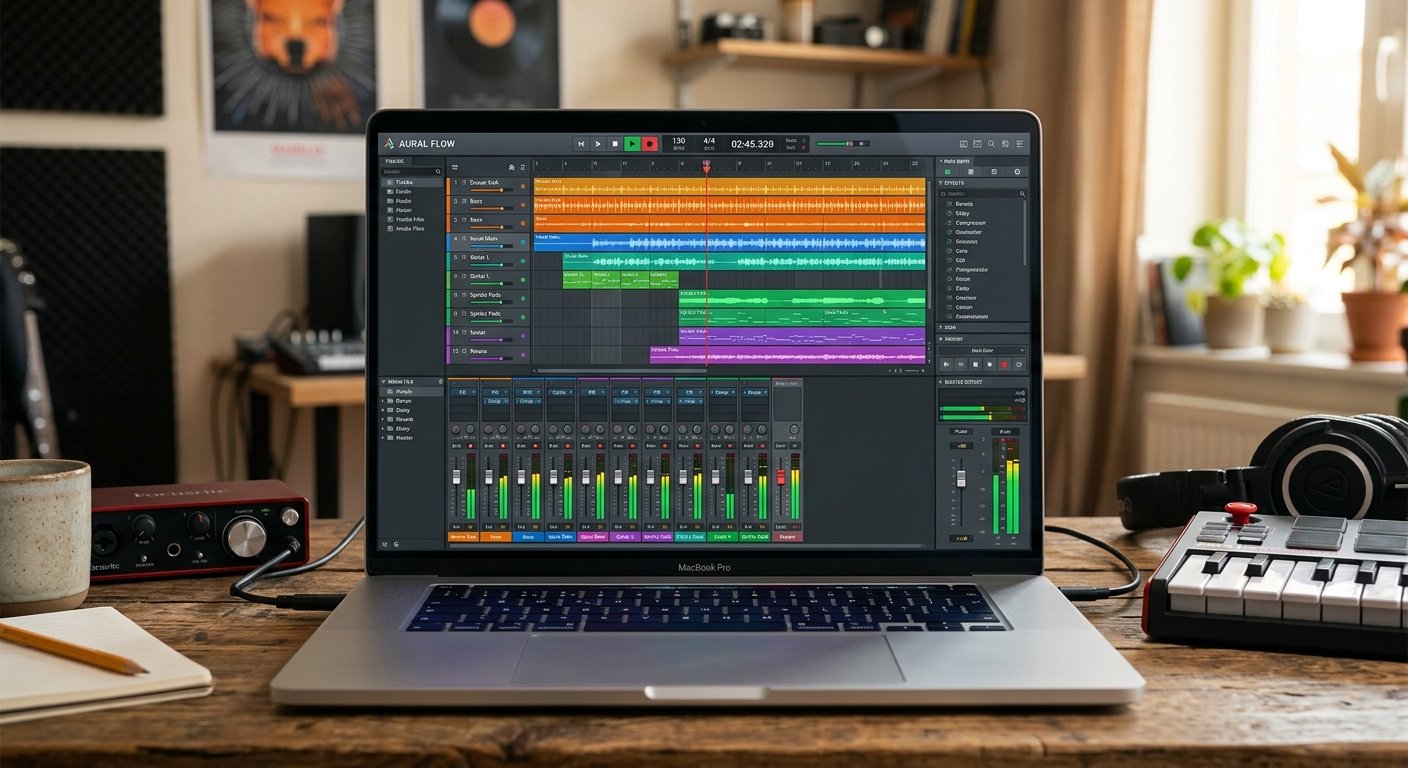
The computer and DAW (Digital Audio Workstation) are the heart of your studio. The good news for beginners: you almost certainly already have a capable computer. Any modern laptop or desktop from the last few years can record and mix music.
Your DAW is the software where all recording, editing, and mixing happens. The “DAW wars” have settled: in 2026 most professional DAWs produce professional results, so the best one is the one you’ll actually learn and stick with. Popular choices include:
- FL Studio: the favorite for beat-making, hip-hop, and EDM, with a fast pattern-based workflow.
- Ableton Live: brilliant for electronic music and live performance.
- Logic Pro: the best value for Mac users, packed with instruments and effects.
- GarageBand: free on Mac and genuinely capable for total beginners.
- Reaper: cheap, lightweight, and endlessly flexible.
Most audio interfaces also bundle a free DAW (Ableton Live Lite, Pro Tools Intro, or Studio One Prime), so you may not need to buy one at all to start.
2. The Audio Interface: Your Studio’s Nerve Center
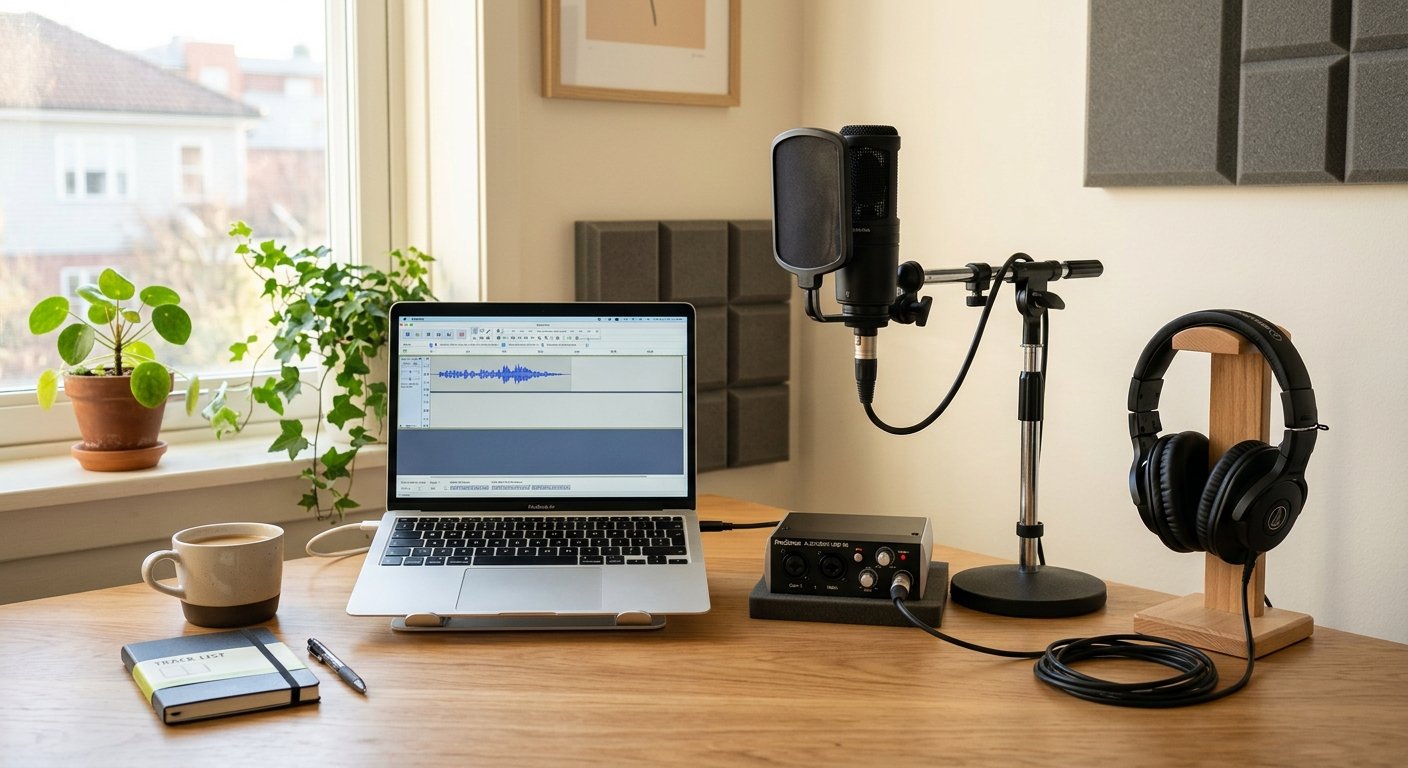
The audio interface is the single most important hardware purchase you’ll make. It converts the analog signal from your microphone and instruments into digital audio your computer can record, and it does so with far better quality and lower latency than your computer’s built-in sound card.
For a beginner, a simple 2-in/2-out interface is perfect: enough for a microphone and an instrument. Look for USB-C connectivity, 48V phantom power (required for condenser mics), and clean preamps. In our testing, trusted starter brands include Focusrite Scarlett, MOTU, Audient, and PreSonus. Manufacturers like Audient publish helpful build guides if you want a second opinion on the essentials.
Because the interface shapes everything downstream, it’s worth getting this choice right. We’ve put together a full, tested breakdown to help you pick.
Read next: Best Audio Interfaces for Home Studio (2026): 9 Tested Picks covers the top options for every budget, from the $49 Behringer UMC22 to the pro-grade UA Apollo Twin X.
3. Choosing Your First Microphone
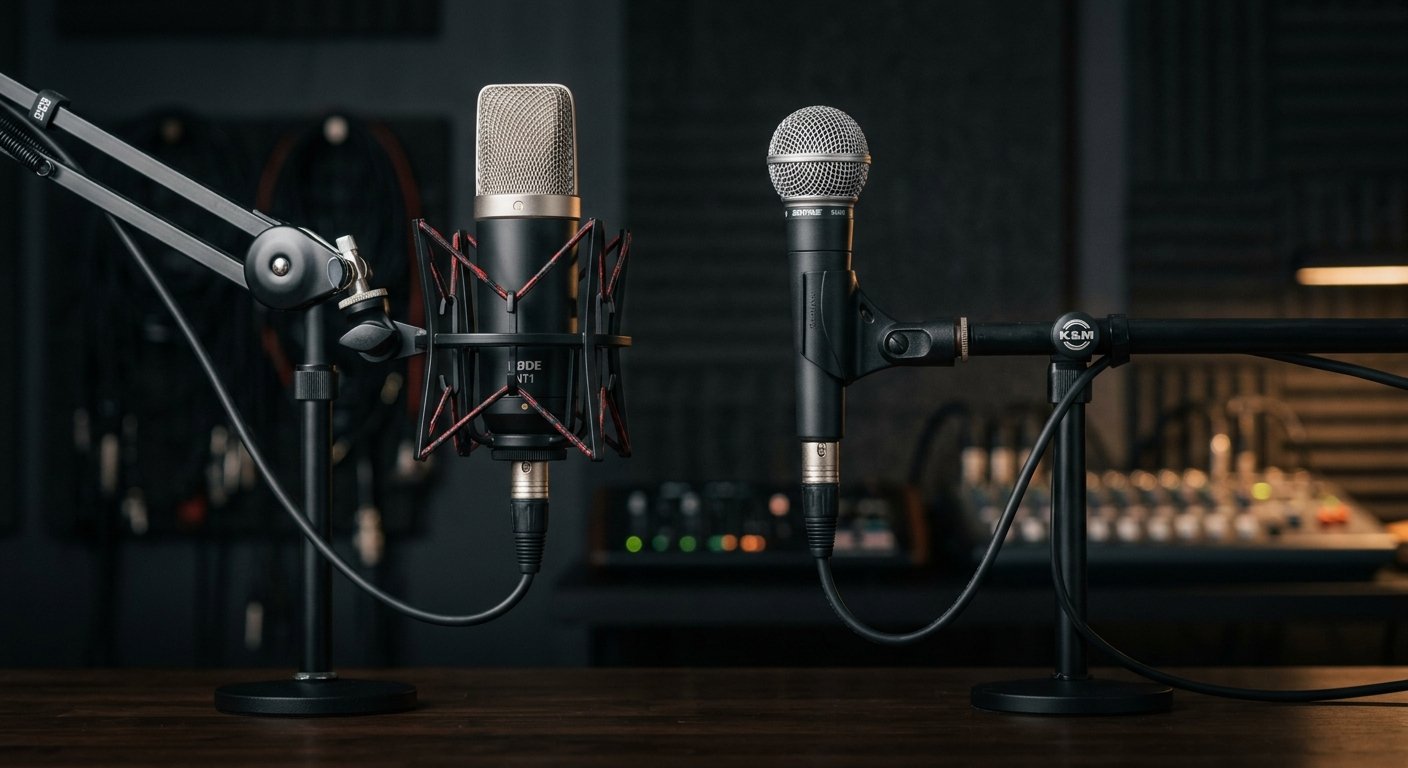
Most people start by buying a microphone, but that’s usually the wrong first move: a great mic through a weak interface still sounds bad. Once your interface is sorted, though, the mic is what captures your voice, tone, and emotion.
Condenser vs dynamic microphones
There are two main types, and the right one depends on your room:
- Condenser mics (like the Audio-Technica AT2020 or Rode NT1, $100 to $250) are sensitive and detailed, ideal for a treated room and studio vocals.
- Dynamic mics (like the Shure SM7B or MV7) are more forgiving of room noise, which makes them the safer pick for an untreated bedroom. They reject reflections and background hum better.
For most beginners recording in an untreated room, a dynamic mic is the smarter, more forgiving choice. One dependable vocal mic beats a drawer full of random budget mics.
4. Headphones and Studio Monitors
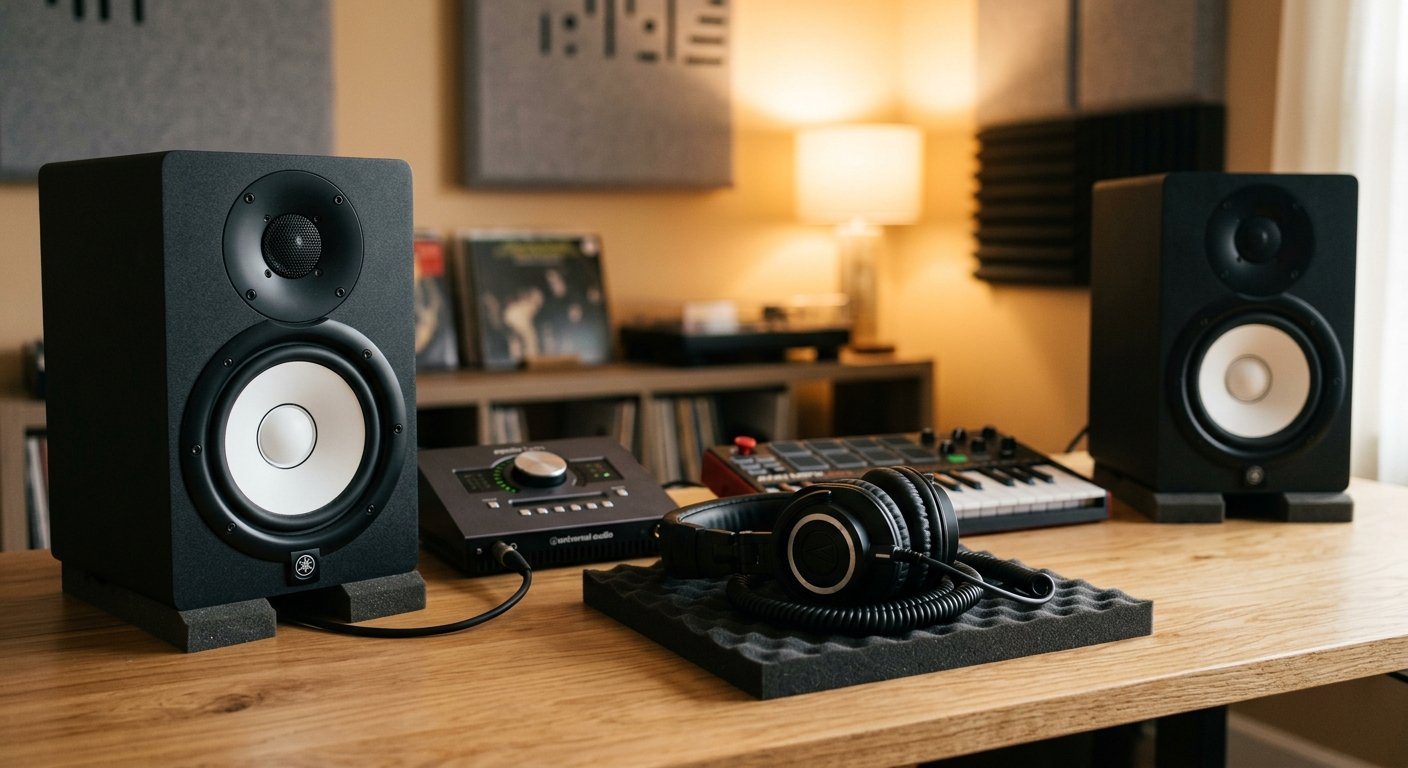
You can’t mix what you can’t hear accurately. You have two monitoring options, and beginners should usually start with headphones.
Start with closed-back headphones
A good pair of closed-back studio headphones ($80 to $150) is the most practical starting point. They let you record without bleed into the mic, hear details clearly, and avoid the room problems that speakers expose. Look for a flat, uncolored sound rather than bass-heavy consumer headphones.
Add studio monitors when your room is ready
Studio monitors (accurate speakers, $150 to $400 for a pair) become genuinely useful only once your listening environment is treated. Buy monitoring for the room you actually have, not the room you wish you had. A decent room with modest speakers beats expensive speakers in a bad room, every time.
5. Don’t Skip Acoustic Treatment
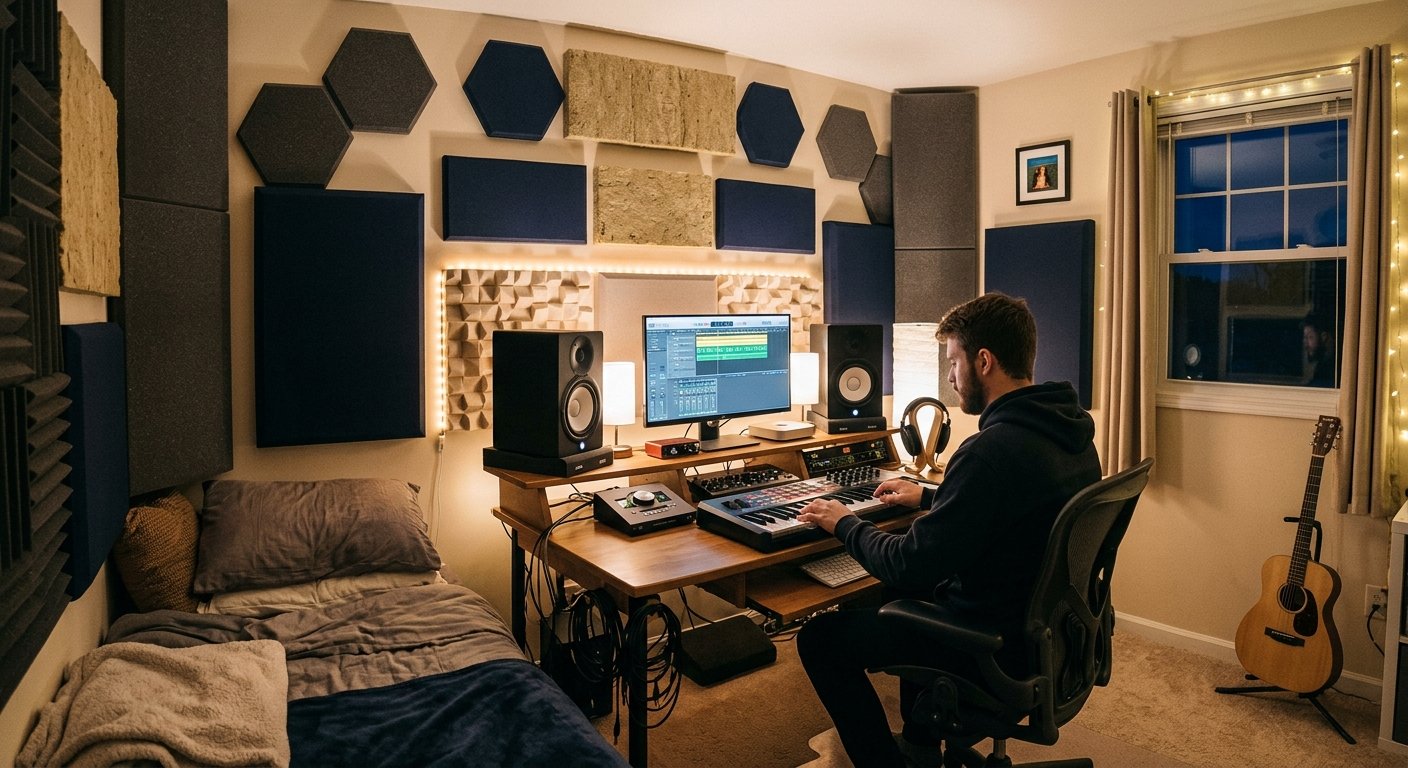
This is the step beginners skip most, and it’s the one that transforms recordings the most. You cannot fix bad room acoustics with EQ. No plugin corrects flutter echo or standing waves. An untreated room acts like a filter you didn’t choose: low frequencies bunch up in corners, hard walls throw reflections back at you, and what reaches your ears stops matching the actual recording.
The good news is that treatment doesn’t have to be expensive. Household materials, thick curtains, rugs, and soft furnishings, do more than most beginners expect, especially in small rooms. For a step up, budget $100 to $400 for DIY panels using Rockwool or Owens Corning 703, or buy ready-made panels from a brand like GIK Acoustics.
What does not work is covering a few walls with thin foam squares and calling the room treated. Focus on the first reflection points beside and above your listening position, plus bass traps in the corners. A reliable way to find those points is the “mirror trick”: as Sound on Sound explains, have someone slide a mirror along the wall while you sit at your listening position, and wherever you can see your monitor is a reflection point worth treating. According to GIK Acoustics, broadband absorption panels at these early-reflection zones deliver the biggest gain in stereo clarity, while thick corner bass traps handle the low-end buildup that foam can’t touch.
Choosing the right room
If you have a choice, pick a rectangular room over a square one (square rooms create standing waves that muddy recordings). Choose an interior room away from street noise and HVAC, ideally with carpet, curtains, and soft furnishings already in place. A room around 10 x 12 feet is a comfortable starting size.
6. MIDI Keyboard and Extras
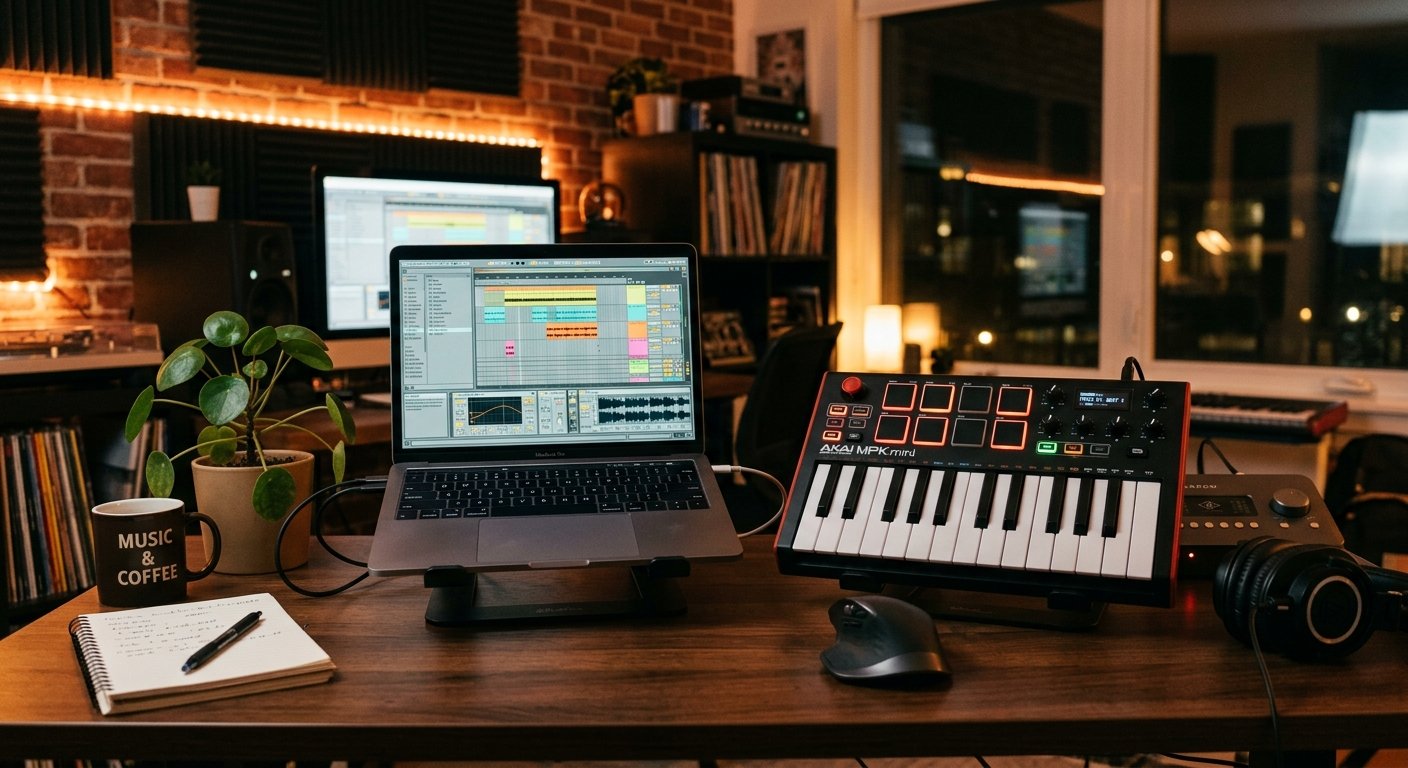
Once your core signal chain is complete, a few extras dramatically speed up your workflow:
- MIDI keyboard: A 25, 49, or 61-key controller (Akai MPK Mini, Novation Launchkey, Arturia KeyLab) lets you play virtual instruments and program beats far faster than clicking with a mouse.
- Pop filter: Essential for recording vocals with a condenser mic, and cheap.
- Mic stand: Spend a few extra dollars on a sturdy one; cheap stands tip over and smash microphones.
- A solid desk and chair: You’ll spend hours here, so ergonomics matter more than looks.
Home Studio Budget Tiers for 2026
Here’s how the numbers actually break down for a home studio setup, based on what real beginners spend:
The $300 Essentials Build
The bare minimum to start recording: a budget audio interface, one dependable microphone, a pair of closed-back headphones, and cables. Use your existing computer and a free or bundled DAW. This gets you making music today.
The $500 Complete Setup (the sweet spot)
The best value for most beginners. You add studio monitors, a MIDI keyboard, basic acoustic treatment, and better cables. This covers all the essentials and gives you room to grow.
The $1,000+ Pro-Am Setup
Higher quality across the board: a better interface with more inputs, a premium microphone, proper acoustic panels, and a more powerful computer if needed. This is for serious creators who plan to make money from their studio.
The Order to Buy Your Gear
Follow this sequence. Each step builds on the last, and skipping ahead usually means buying gear you can’t use yet:
- Pick your room and do basic treatment with what you have.
- Set up your computer and DAW (use free or bundled software first).
- Buy your audio interface, the foundation of your signal chain.
- Add a microphone suited to your room (dynamic for untreated spaces).
- Get closed-back headphones for recording and early mixing.
- Add studio monitors and treatment once you’re committed.
- Add a MIDI keyboard and extras to speed up your workflow.
Beginner Mistakes to Avoid
After 12 years of building studios and watching others do the same, the same mistakes come up again and again:
- Gear Acquisition Syndrome (GAS): Buying gear feels productive, but practicing with what you have improves your music more. Plenty of people own $10,000 studios and can’t finish a song.
- Buying before learning: Master your current DAW and mic before buying more. The internet is full of free tutorials.
- Skipping room treatment: You can’t EQ your way out of a bad room. Treat it before buying expensive monitors.
- Spreading money too thin: One clean signal path beats a room full of bargain-bin gear.
Free Tools to Get Started
Once your studio is set up, our free browser tools help with everyday production tasks, no download required:
- BPM Tapper: find the tempo of any song by tapping along.
- Online Metronome: keep perfect time while recording.
- Song Key & BPM Finder: match keys and tempos between tracks.
- Chord & Scale Finder: build chords in any key.
Frequently Asked Questions
How much does a beginner home studio cost in 2026?
What do I need to set up a home studio?
What should I buy first for a home studio?
Do I need studio monitors or are headphones enough?
Is acoustic treatment really necessary for a home studio?
Can I build a home studio in a bedroom?
Start Building Your Home Studio Today
A great home studio setup in 2026 isn’t about owning the most gear, it’s about building one clean signal path, treating your room, and learning your tools deeply. Start with the $300 essentials if money is tight, add pieces one at a time, and focus on making music rather than chasing upgrades.
Your first stop is the audio interface, the foundation everything else depends on. Once you’ve got that sorted, you’re ready to record. The producers you admire all started exactly where you are now.
Next step: compare the best options in our tested guide to the best audio interfaces for home studios, then start building your setup one smart piece at a time.