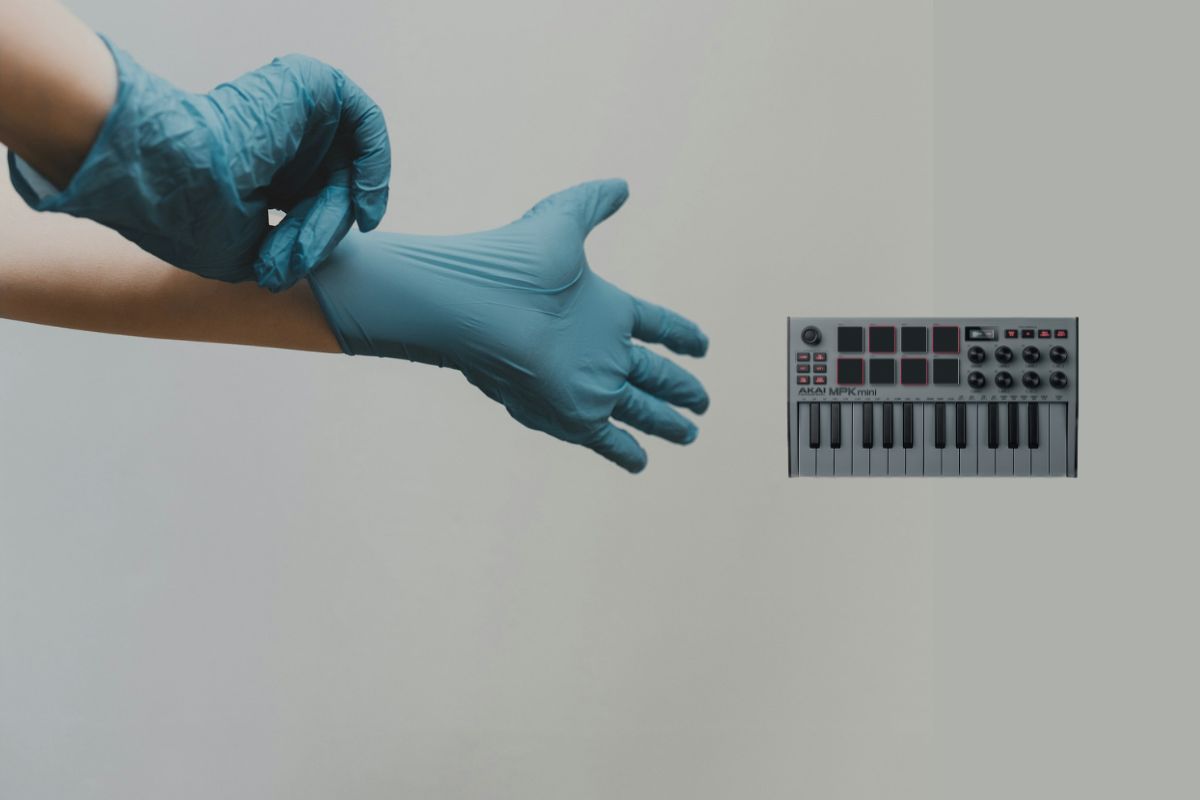
If you own a MIDI Keyboard controller and want to maintain its original condition, here we have some of the basic to advanced level maintenance tips for a MIDI keyboard. There are small components in the MIDI keyboard controller like knobs, faders, keys, and screens that are required to clean for best performance and longevity.
Here are some of the top care and cleaning tips for your MIDI keyboard.
1. Protect Against Dust

One of the biggest threats to the longevity of a MIDI keyboard is dust, pet hair, and other debris getting inside. This can clog up keys over time and interfere with the electronic components as well. Any interference in the electrical component of the MIDI controller can even break the whole system.
| Use dust covers | Keep your MIDI keyboard covered with a dust cover specifically sized for keyboard use when not in use. There are affordable options made of polyester or vinyl that you can easily slip on and off when you need to play. |
| Strategic placement | When setting up your studio, think about placing the MIDI keyboard in a location away from open windows, circulating fans, or high-traffic areas that stir up dust. Keeping it elevated and tucked back on your desk can help avoid debris build-up under and around the keys. |
2. Clean Keys and Controllers
Even with precautions, dust still inevitably lands on the most touched parts of your MIDI controller. Get into the habit of periodically wiping down the keys, pitch/mod wheels, sliders, and knobs. Using a microfiber cloth, very gently rub the surfaces to trap and remove dirt and oils.
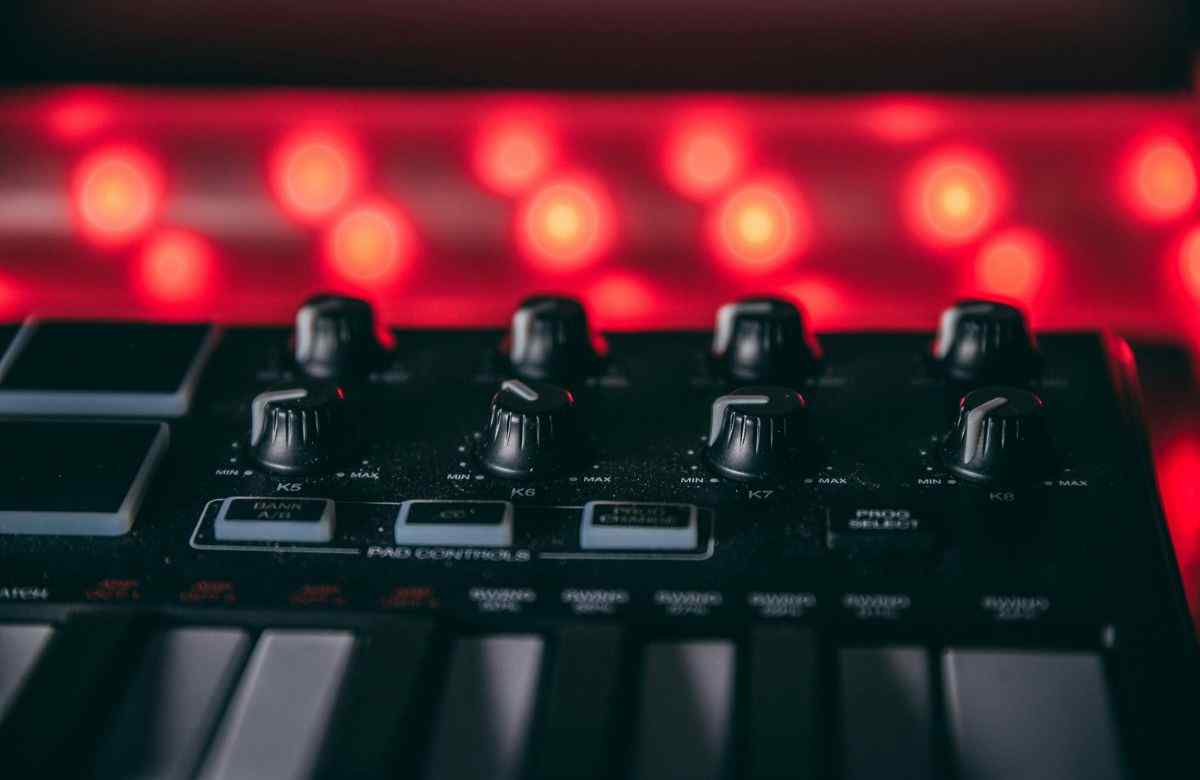
Once a month, depending on the usage and surroundings, you can use an electronics-safe cleaner formulated for plastic surfaces. Put a small amount on microfibre clothe first before lightly scrubbing the keys and controls. Avoid getting any moisture in openings or under the keys themselves during cleaning. Allow all surfaces to completely air dry before using or even connecting your MIDI keyboard again after cleaning.
[recommended_posts posts=”1046,1083,906″]
3. Watch Moisture and Liquids

One of the biggest dangers to any electronic musical gear is exposure to moisture or spills. Never place drinks beside your MIDI keyboard, and avoid location setups in very humid rooms. If you transport your keyboard between studios or performances, get in the habit of inspecting the case interior for leaks or rain exposure after each trip.
Even if a small spill does occur on the MIDI keyboard, immediately unplug it before attempting to clean it. Blot any standing liquid gently with an absorbent cloth without rubbing the keys. Allow it ample time to fully dry out before reconnecting the power. After a serious liquid exposure, consider taking it to an electronics repair expert for inspection and cleaning before permanent damage sets in.
4. Handle Carefully When Moving
Though MIDI keyboards are designed to be portable, the components inside can still be damaged by drops, crushing impact, or shock.
| Use protective cases | When transporting your keyboard or moving studio, always pack it very carefully. Use the original box and packing materials when possible, or invest in a hardshell keyboard case with padding. |
| Secure stands | When setting up for performances, secure keyboard stands must be used to prevent tipping and damage. |
| Beware of children and pets | Be very cautious of small children and pets around any musical equipment since curiosity could lead to accidentally pulling connecting cords. |
5. Update Firmware When Available
Like most electronics today, MIDI keyboards contain firmware that operates features behind the scenes. It is like the operating system of your laptop, PC and smartphone. The companies that manufacture MIDI keyboards will periodically release firmware updates with bug fixes and feature improvements. It’s important to check the manufacturer’s website routinely to see if any new firmware for your model is available. Sometimes manufacturers even release the new feature through firmware.
Updating typically involves downloading the firmware file to your computer and then connecting the MIDI keyboard via a USB cable. Follow the specific update instructions to install the new firmware. This ensures you have the latest compatibility and options for creative music production while using the same old MIDI keyboard.
[recommended_posts posts=”1148,1102″]
6. Replace Worn Parts
No matter how careful we are, MIDI keyboards do experience normal wear and tear over years of use. The most common parts to degrade are the USB cables and power supplies. Inspect these accessories periodically for damage, bent plugs, or fraying/exposed wires. Always replace worn parts rather than try to tape or repair them.
Other commonly replaced parts include velocity-sensitive key membranes, rubber key contacts, and loose knobs or sliders. Many MIDI keyboards sell affordable replacement parts kits for DIY repairs. If you notice keys not triggering properly or controls losing function, inspect and swap worn components as needed.
7. Clean Electrical Connections
The sensitive circuit boards and electrical components inside your MIDI keyboard can malfunction if connections become oxidized or dirty. About once a year, open up your keyboard case to access the main circuit board if comfortable doing so. Use electronics-grade contact cleaner spray and an anti-static brush to gently clean the board and connections. Avoid touching components directly as the oils from the skin can leave residue.
You can also periodically plug and unplug cables like the power, USB, and MIDI DIN cables from the keyboard. The friction helps clean the port connections and maintains conductivity. Just be sure to do so gently without bending any connector pins.

8. Protect Against Electrical Faults
Electrical spikes, surges, and outages can sometimes damage the sensitive electronic components inside MIDI keyboards and cause lockups or malfunctions. Always make sure your keyboard is plugged into a surge protector or UPS battery backup for vital protection.
Ideally, don’t share crowded power strips with other electronics, and avoid plugging into older buildings with questionable wiring. Turn the keyboard off before connecting and disconnecting other gear from the same surge protector to prevent power blips. Being cautious about the electricity flowing to your MIDI keyboard can prevent very costly damage down the road!
9. Give It Some Rest!
It’s easy to get carried away with intense music-making sessions on your favorite MIDI controller. But just like resting our bodies, the components inside keyboards also benefit from downtime. Avoid leaving MIDI keyboards powered on all day and night when not in use. The constant electrical flow can shorten the lifespan of chips, displays, and connectors.
When you finish a studio session, get in the habit of turning the MIDI keyboard off or putting it into standby sleep mode if available. The hours of uptime will add up over weeks and months. Giving your keyboard regular breaks from on-duty status improves overall performance and longevity!
10. Know When To Call In Help
With proper care and maintenance, MIDI keyboards can deliver many years of musical creativity. But at some point, age and wear will likely cause issues needing professional service. Warning signs include buttons not responding, keys failing to trigger notes, recognition issues with controllers, or problems detected during firmware updates.
Rather than attempt complex component-level repairs yourself, experienced electronics techs have the proper tools and parts to get MIDI keyboards back up and running again. Finding an authorized service center for your keyboard brand is best to ensure genuine factory replacement parts are used. The cost is reasonable compared to buying a whole new MIDI controller. The whole replacement or fixing thing can be completely free if the product is in the warranty period and fulfills the claim policy.
Cleaning Tips for MIDI Keyboard Controller: Your Turn Now!
With just a little routine care and awareness, your MIDI keyboard can stay in top shape for songwriting and practice as long as you need it. Other than part failure where you need an authorized service, all the above-mentioned cleaning tips are practical as well as easy and can be done without asking for professional help. Just make sure you don’t damage the physical component, keep it away from liquid spills, and are safe from dust, pet hair/fur, and kids.


